
This article will walk you through the options for creating a basic Donation button for collecting charitable donations on your website.
Note: This button is intended for fundraising. If you are not raising money for a cause, please choose another option. Nonprofits must verify their status to withdraw donations they receive. Users that are not verified nonprofits must demonstrate how their donations will be used, once they raise more than $10,000.
Step-by-Step Instructions
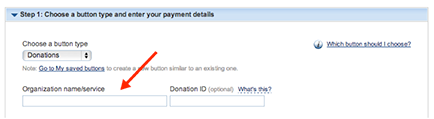
- On the button creation page, select the “Donations” button option to start creating your button.

- In the “Organization name/service” field, type in the purpose for the donation or the name of your organization.
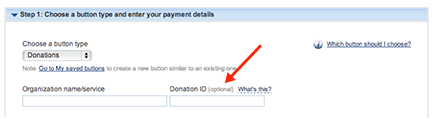
- Optional – The “Donation ID” field can be used to help you track donations, but isn’t needed.
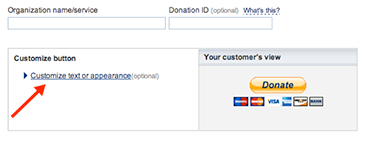
- Optional – You can use the “Customize text or appearance” option to make the button smaller, remove the credit card logos, or even use your own custom image instead, such as your organization’s logo. If you use your own image, it must already be hosted on its own URL.
- Choose the currency you want to use to accept donations. By default it is set to USD.

- For “Contribution amount” you can either let donors enter any amount they choose, or request a fixed amount.
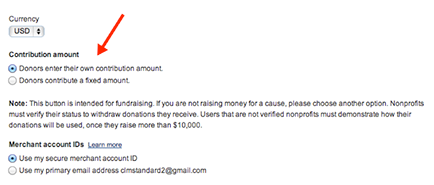
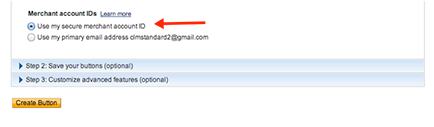
- By default, payments are sent to the PayPal account that you used to create your button and are only identifiable by an email address or by a secured merchant account ID– this helps to keep your account’s email address safe and secure. It is recommended that you keep the default “Use my secure merchant account ID” option so that your email address will not be exposed within the button code.
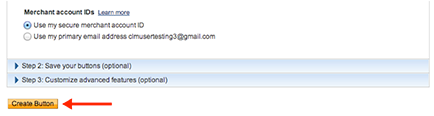
- Click “Create Button” to save your button and generate the code you need to add it to your website.
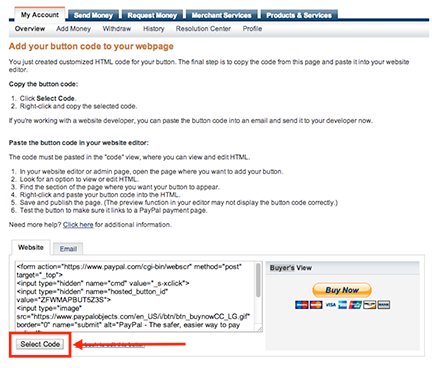
- You will need to copy the code in order to place it on your website. Click “Select Code” underneath the box containing the HTML. This will highlight all of the HTML for you.
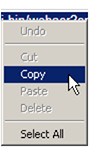
- Right click on the highlighted code and select “Copy,” (or press Ctrl+C for Windows, or Cmd+C for Apple systems).
- Above the HTML box are general instructions for placing the code on a website. If you need instructions specific to your website or additional help with putting the code on your site, contact your website provider (e.g. Wordpress, GoDaddy, Joomla, Yahoo, etc). They will be the most familiar with your website and how to get your button working properly on your website.
Additional Info and Frequently Asked Questions
Can I create a button that gives donors the option to donate on a monthly or recurring basis?
Yes, if you would like donors to be able to choose to donate a set amount on a regular basis (e.g. weekly, monthly, yearly) you can. This guide will give you step-by-step instructions: Create a Recurring Donation Button. Your donors will also need to accept a payment agreement to use this option.


0 nhận xét Blogger 0 Facebook
Post a Comment
Thank for you
Click to see the code!
To insert emoticon you must added at least one space before the code.